 It’s that time of year where you start seeing girl scouts selling cookies outside your local grocery store. I honestly haven’t eaten girl scout cookies in quite a while but I used to love the thin mints & tagalongs!! I could polish off a thin mint sleeve in no time, especially if they were cold! So after you polish off your girl scout cookies and no more are available you can make your own tagalongs at home!
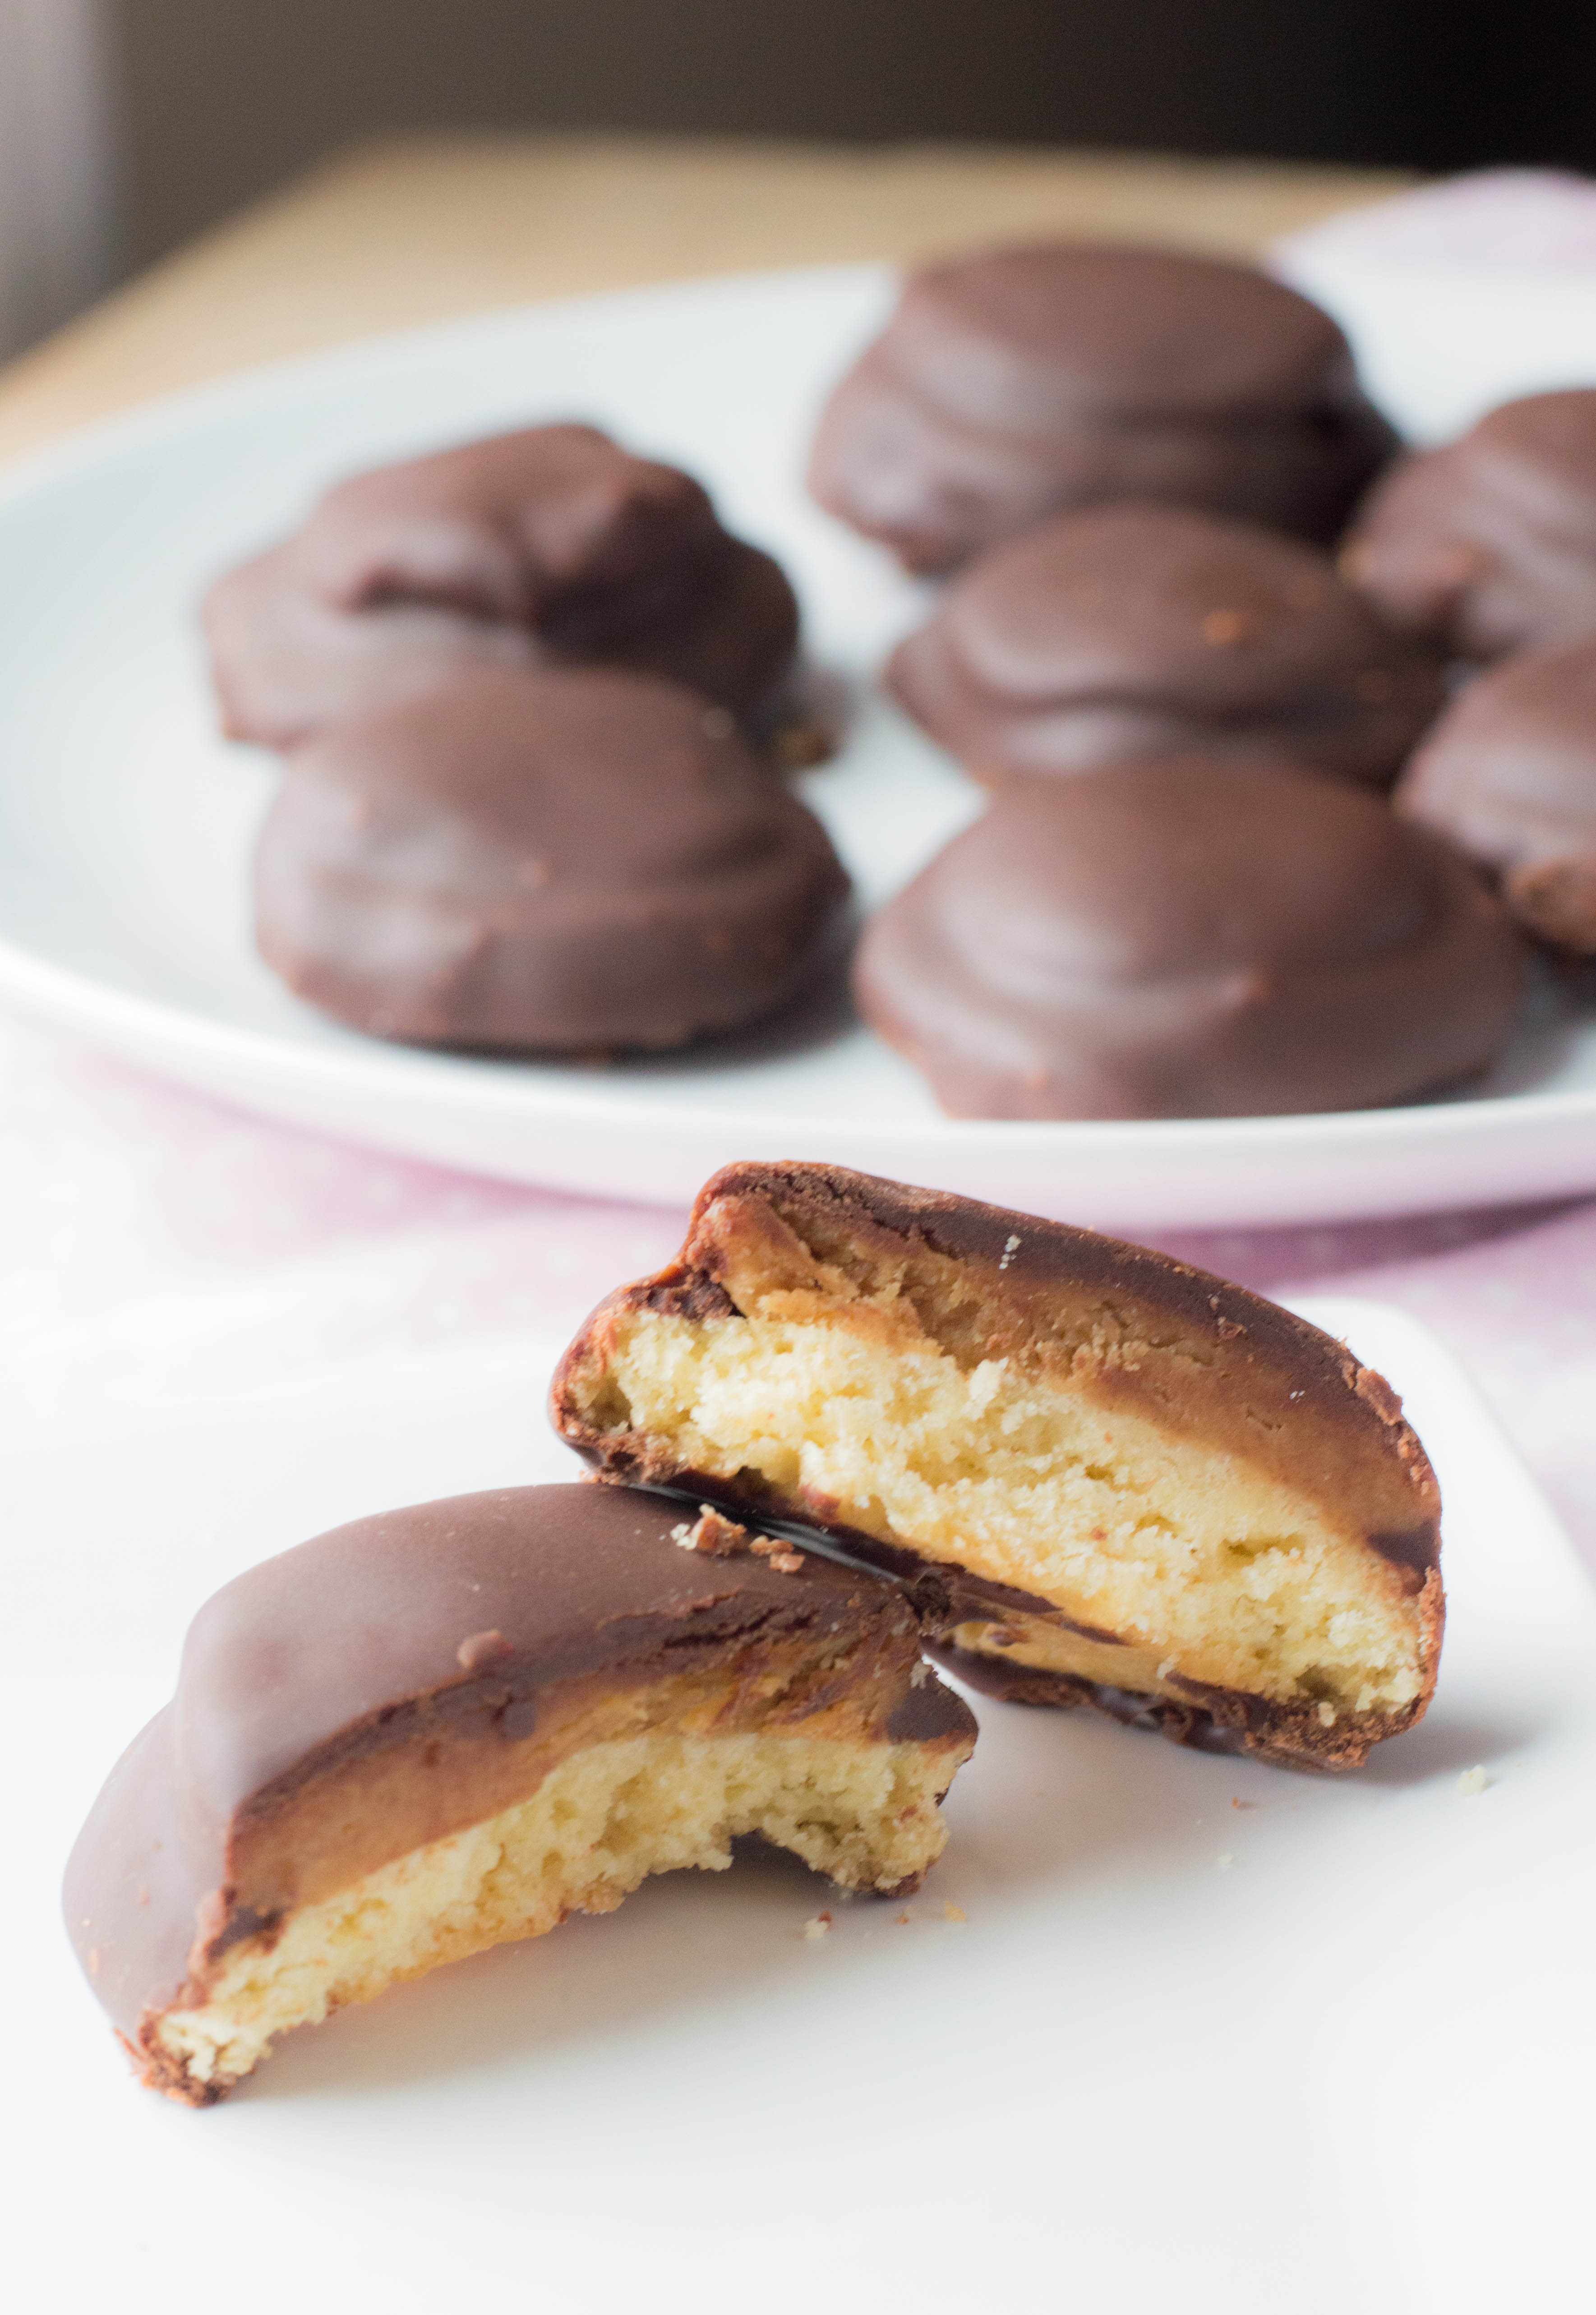
These were very close to the real thing!! I especially loved these cold too, so I recommend storing them in the fridge. I combined a few different recipes to come up with my own and I loved the way they came out. I halved the recipe for the homemade vanilla wafers for the cookie base, which are great on their own too. These tagalongs aren’t hard to make, but they are a bit time consuming, so you might want to make these when you have a little time on your hands. They were really fun to make and definitely worth the effort!! Especially if you can’t find any girl scout cookies or your stash has depleted.
Homemade Girl Scout Tagalongs
Source: Cookie Base from Williams-Sonoma, Peanut Butter Filling from Babble.com, Chocolate Coating from Bakers Royale
Makes Approximately 20 cookies
Ingredients:
For the Cookie Base:
1 stick unsalted butter, room temperature
1/4 cup sugar
1/8 tsp. salt
1 egg yolk
1/2 tbsp. vanilla
1 cup all purpose flour
For the Peanut Butter Filling:
1/2 cup creamy peanut butter
1/2 cup confectioner’s sugar
2 tbsp. milk
For the Chocolate Coating:
1 cup semi-sweet chocolate chips
2 tbsp. heavy cream or half & half
6 tbsp. confectioner’s sugar
4 to 5 tbsp. warm water
Directions:
For the Cookie Base:
In the bowl of a stand mixer, cream together the butter, sugar & salt on medium speed until combined. Reduce the speed to low and add in the egg yolk and vanilla and mix until fully incorporated. Add in the flour a little at a time and mix until combined and a dough forms.
Remove the bowl from it’s stand and turn the dough out onto a clean surface. Separate the dough into two equal portions and roll each portion into a log that is approximately 1 1/2 to 2 inches in diameter. Wrap each log in plastic wrap and place in freezer fro 25 to 30 minutes. (This is so dough will firm up and slice easily).
Preheat oven to 350 degrees. Line a baking sheet with parchment paper. Remove both of the logs from the freezer and take them out of their plastic wrap. Slice the dough into cookies crosswise so they are approximately 1/4 inch thick. Place each cookie on the baking sheet, one inch apart (these do not rise or spread hardly at all).
Bake the cookies for approximately 12 to 15 minutes until edges are lightly golden. Allow cookies to cool on the baking sheet for five minutes. Transfer to a cooling rack to cool completely.
In the bowl of a stand mixer, beat together the peanut butter and confectioner’s sugar until smooth. Add in milk and beat until incorporated.
For the Chocolate Coating:
Place a little water in a small pot and bring to a simmer. Put chocolate chips & cream or half & half into a double boiler or glass bowl and place over top of the simmering water. Let set for a couple minutes before stirring, then stir mixture until chocolate is melted & smooth. Remove from heat and stir in confectioner’s sugar until incorporated. Pour in water 1 tbsp. at a time until a pourable consistency. Let chocolate cool to a warm temperature while you assemble the cookies for dipping.
Take a small amount of the peanut butter mixture in your hand (approx. 1/2 tbsp. or so) and roll it into a ball. Then flatten ball out into a disc with your fingers and press on top of a cookie. Repeat until all cookies are topped with a peanut butter disc.
Place some parchment paper underneath a cooling rack to prepare for dipping the cookies.
Place a topped cookie into the bowl of chocolate. Using a spoon, spoon chocolate over top to coat the top of the cookie. Place a fork underneath the cookie and lift cookie out of the chocolate. Tap the handle of the fork slightly on your hand and allow excess chocolate to drip off into the bowl. Place cookie on cooling rack. Repeat for each cookie. Let chocolate set and then store in an airtight container in the refrigerator or at room temperature.
Notes:
*I preferred these cookies cold, so I kept mine in the fridge, but they are great room temperature too.
*Instead of the chocolate coating mixture you could just melt 2 cups chocolate chips instead.


 Welcome! I'm Stephanie, a thirty something girl loving life with my husband Adam and our two little miracles living in gorgeous Southeast Tennessee. I'm passionate about Jesus, traveling, sports (Go Titans!), and of course food! Read more about me


These are fabulous! I have to pin this recipe asap! One day the tiny box of girl scout cookies will disappear and will need this recipe to satisfy my cravings!
Thank you so much Tanya!!
Tagalongs are my FAVORITE girl scout cookies!!! and they’re definitely best cold! so excited that you made such a perfect homemade version!!!
aren’t they the best?!?! Glad you love them cold too! Thank you!
Oh My golly gee! I made these yesTerday and they were wonderful! My Husband and boys loved them! We lIve in ky so i sImply put them out oN the porch in a coVered container to keep Cold. Lol ….keep posting … Very much enjoying your site!
Yay! So glad you and your family loved them Susan! Great idea to put them outside in the cold to chill haha;)